Jul 30, 2017

Darkroom Door Stencil Blog Hop


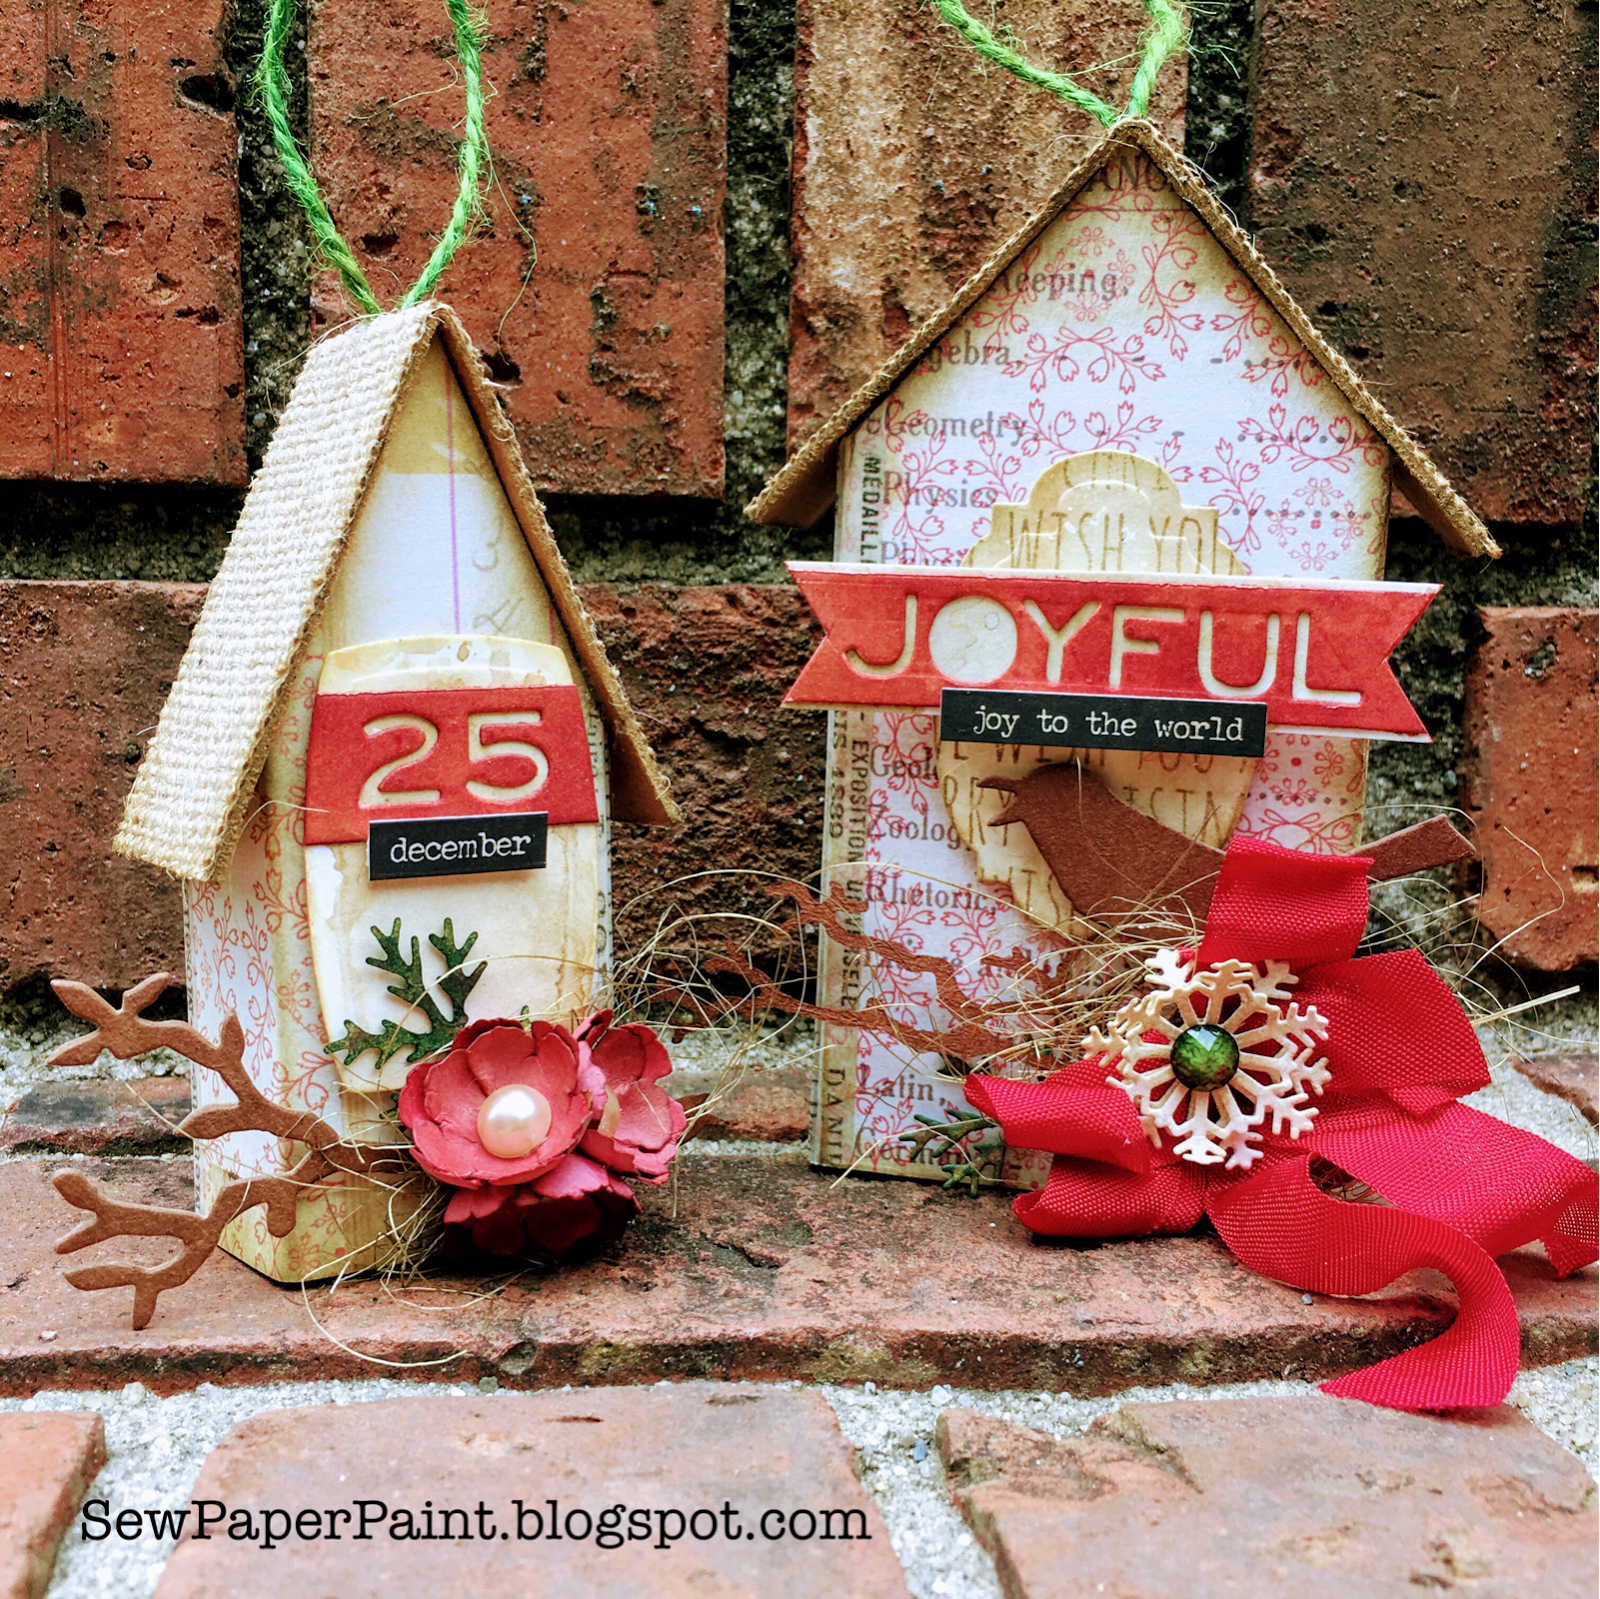
Welcome to the first ever Darkroom Door stencil blog hop!  I am so thrilled to see this company expand its boundaries with even more products for the mixed media artist and cardmaker!


Just check out these amazing new designs!


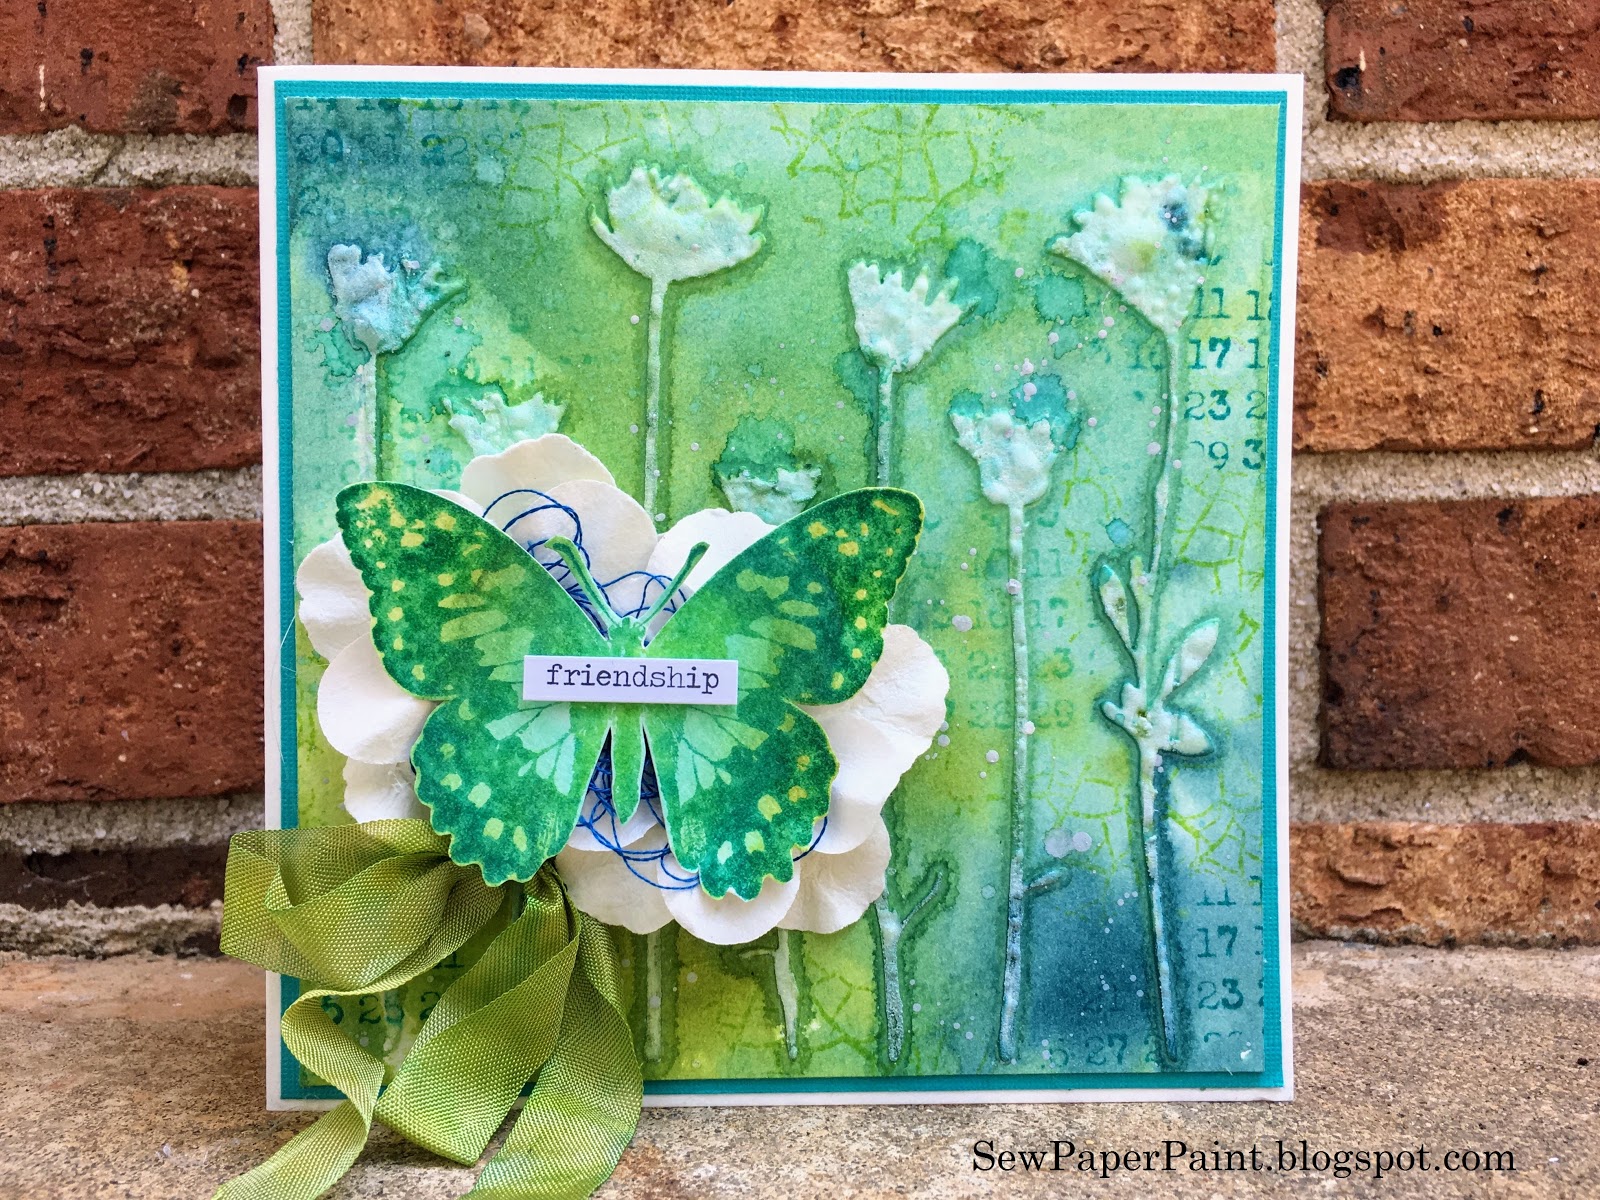
Today I'm sharing a sweet mixed media card with you featuring the fabulous Small Stencil - Wildflowers.


One of my favorite things to do is to stencil backgrounds with texture paste and spray with inks, letting the colors blend and pool and drip.  I love the shadow effect the stencil makes with the inks.  I stamped a partially inked Mini Calendar and Crackle texture over the panel for more interest.


I splashed on more ink and layered the Butterfly Eclectic stamp over a few paper flowers and a bundle of string.  A little quote sticker and dyed loopy bow finish the card.


For my second project I went a bit CAS and did some stencil bumping with the Small Stencil - Ferns.  If you've never heard of this technique, basically you stencil one color of paint and let it dry, then go back over with a second color of paint only slightly shifting the stencil to create a shadow.  Here I used kraft stock with white and green paint and stenciled my ferns randomly all over the panel.


I finished the card with a circle stamped with the Wander Quote Stamp and some splattered gesso in white and black.  I hope you like these and will check out the collection of stencils on Darkroom Door website.


Now it's time for a giveaway!


Be sure to visit each blog and leave a comment. Five lucky winners will will receive 3 stencils of their choice! Winners will be drawn from comments left across all the blogs, so be sure to leave a comment on each blog for more chances to win! Comments received before midnight Friday 4th August are eligible to be in the draw. Winners will be announced Monday 7th August on the Darkroom Door blog and Facebook page.

Hop along to the other blogs here:
Darkroom Door: http://www.darkroomdoor.com/Blog
Teresa Abajo: https://thetamarisk.blogspot.com
Belinda Spencer: http://happyscrapspace.blogspot.com
Autumn Clark: http://sewpaperpaint.blogspot.com
Godelieve Tijskens: http://stampingmathilda.blogspot.com
Anneke De Clerck: http://somefiddlingonthekitchentable.blogspot.com
Robyn Wood: http://purplesalt.net

Thanks for your visits in advance!

Jul 22, 2017

PaperArtsy Topic 9 Distress Oxide Wildflowers Cards


Happy Saturday!  Today I FINALLY had a chance to play along with the current topic at PaperArtsy, though I'm pushing the deadline.  I decided to use some of my favorite Distress Ink and Distress Oxides with embossing to make some simple birthday cards.


I dipped my panel in Evergreen Bough DI, then in Salty Ocean and Cracked Pistachio DOX puddles.  I have been getting a lot of questions when I say this.   I tap my pads onto my kraft mat and then spritz with water to make ink puddles, thus the "dipping" process.


For the first card I stamped the main image in Evergreen Bough, then did my smaller surrounding images in white embossing.


For the second card I did the reverse, and embossed my main image and stamped the smaller images in ink.  I used my inks to watercolor the petals.  I am slowly building a collection of PA stamps and won these two floral sets recently, but don't have many sentiments.  So I pulled a stamp from my stash and stamped it on my clean up paper and stapled it down.  The little numbers stamp is a single image stamp and makes the coolest filler!  These were really fun and will help me with my birthday card stash.  I hope you like them!


Pick up these gorgeous PaperArtsy stamps today!


You are invited to the Inlinkz link party!
Click here to enter

Jul 21, 2017

Prima St. Tropez Mini Album Tutorial and Video


I'm ever so excited to be sharing the Friday Focus post on the Frilly and Funkie blog today.  For the next two weeks the Prima Marketing St. Tropez collection will be an extra 15% off the already discounted prices.  I have used one A4 pad, one pack of flowers, one pack of gemstones and one pack of charms with a few elements from my stash to complete a mixed media mini album/scrapbook.  Actually, this album is not so mini, but measures in at a whopping 6 x 9 1/2 inches!


No matter what size of mini album you wish to create, the principles I shared in THIS post on nestled binding will work for you.  The variation comes in the thickness between your pages.  On the above mentioned album I used a bigger gap between pages to accommodate thicker mixed media pages.  For this album I planned to keep my pages flatter and spine thinner so I changed my recipe up a little.

Three Signatures for 6 Flaps (12 Pages Front and Back) with Gap Between Pages of 1/4"
Signature 1. Height of Pages (9 1/4) x 1 1/4
Signature 2. Height of Pages (9 1/4") x 1 3/4
Signature 3. Height of Pages (9 1/4") x 2 1/4
Score each Signature ½” from each end.
Spine Width: Height of Covers (9 1/4) x 1 3/4


For this album I covered the the front and back covers with the floral paper in the collection.  I gave it a gesso wash to help tone it down to blend with my cover collage.  I did a spine wrap to connect the covers with the map print.  I use redline tape to adhere the papers to the chipboard.  I covered the wrap on the inside with more map paper and covered the inside spine with the wood grain pattern.  

Front and Back Cover Wraps: 10 1/2 x 7 (for a half inch overlap on all sides)
Spine Wrap: 10 1/2 x 4 3/4
Spine Lining: 9 1/4 x 4 3/4 (adhered before front and back inner lining)
Front and Back Cover Inner Lining: 9 1/4 x 5 3/4

To create my base pages I cut kraft stock for the pages.
Pages: 9 1/4 x 5 3/4
Patterned Paper Overlay: 8 3/4 x 5 1/2

I adhered them to the spine flaps with redline tape.  I then stitched the designer paper over the kraft.  I left the centers of each spread unstitched so that I could tuck elements inside, like this flap.  When my pages were added, I then adhered my flaps one on top of the other to my spine.


I made the closure by gluing wrapped jute cord to an XL button.  I strung the button through the covers to the reverse side and concealed with my layers.  Wrapping the back string keeps the album nice and secure and just looks cool.


I hope you will hop on over to the Frilly and Funkie blog to see the many photos of the inside pages of my album.


This is my favorite spread!  I'm sharing this video of the entire album because it's truly hard to absorb all of the details in still shots, particularly the few interactive elements.  This video shows the finished album with my family photos included and last minute touches.


3 Minute Flip-Through Video


Thanks again for your visit!  Now take whirl through the virtual shopping isles of the Prima Marketing St. Tropez collection at the Funkie Junkie Boutique and see the other amazing products in this collection.  Here are a few that I used for my project:


I'm also sharing with:

Jul 19, 2017

Tag Swap Distress Oxide Butterflies and Script


Hello!  Today I am sharing an inspirational post with my teamies on the IndigoBlu blog.  I was in the need for tags for a swap with my local pals and decided to pair some of our new stamps for these summery  makes.


I dipped my tags into watered Fired Brick and Spiced Marmalade Distress Oxide.  I picked an oval die that would fit around this sentiment from the Dreams Come True stamp set.  I cut an oval from each tag, saving the cutout for another project.  I then dipped a large panel in the same inks, using much less ink for a lighter color.  I embossed the sentiment in black first so I could make sure it was cut out straight, then taped my die in place and ran through my machine.


This double stitched die gives such a pretty border.  I mounted the oval with foam tape for extra dimension.  I also liked the peek of black from beneath from my mat.


I took my scraps and dipped again in the same colors for an even darker shade, then stamped the butterfly from the Victorian Garden stamp set and fussy cut.  I stamped the wild grass along the bottom in Fired Brick DOX to finish it off.


These sentiments truly make amazing focal images on their own, but a little layered stamping gives such a rich feel.  I hope you are inspired to try this out!  I'd love to see your creations.  Hugs, Autumn


I'm also sharing with:

You are invited to the Inlinkz link party!

Click here to enter

Tim Holtz Tiny House Christmas Ornaments


It's time for a new challenge at Frilly and Funkie and our hostess Cec has chosen the theme Christmas in July.  She says, "You might be experiencing summer heat but let's think cool by getting a head start on Christmas preparations.  Your vintage or shabby chic creation could be a card, something to present a gift in or a decor item for the house or tree."  I decided to get a start on my handmade gifts and made a pair of ornaments with the Tim Holtz Tiny Houses die.


I covered thin chipboard with paper from the Memoranda collection before die cutting.
TIP: Normally, you cut dies with the pattern face down, but this die scores marks for the folds and should be cut with the pattern face up.


I punched a hole in the top of each roof and to string Tim's green jute for the hanger.


I made my compositions with a Label die, a Holiday Words die and a small talk sticker.  For the larger house I nestled a discontinued bird die over the branch from the Small Tattered Florals set.  Both were cut from thin chipboard and sponged with Vintage Photo.  I added a small loopy bow and topped it with two snowflakes from the Mini Paper Snowflakes set and a gemstone from my stash.


For the smaller house, I used the branch that the above mentioned bird die sat upon.  I paired it with handmade flowers using the Small Tattered Florals and a pearl center and two branches from the Holiday Greens set.  The flowers were dipped in Fired Brick and Frayed Burlap and the greens were dipped in Peeled Paint, Pine Needles and Vintage Photo.  I hope you like them and are inspired to play along with our current challenge for a chance to win a $25 giftcard to the Funkie Junkie Boutique.  Happy Christmas in July friends!


I'm also sharing with:

Popular Posts