Mar 29, 2018

Tim Holtz Wallpaper Paper Doll Tag


I'm thrilled to announce a fun new twist on Tag Friday at A Vintage Journey!  With the changes we've brought in for the new birthday year we thought you might like to join in and share what tags you have been making. There isn't a prize and we're not promising any comments but the host of the month will choose one of those submitted as a Pinworthy and it will be pinned on our Pinterest Board and showcased in next month's Winner's post. To enter link one or as many tags as you want that have been made and blogged in this month (ie the 1st to the 31st March). The linky will close midnight on the 6th April which is when the new challenge begins so you have one week to get your entries in but remember they can come from any March 2018 blog date.


After my first attempt of dying Tim Holtz's new Worn Wallpaper HERE I was tempted again to try staining a variety of the papers.  I picked up some scraps and gave them all a bath in Frayed Burlap DI and Iced Spruce DOX.


I glued them to my tag in a patchwork and added strips of washi tape here and there for additional pattern.


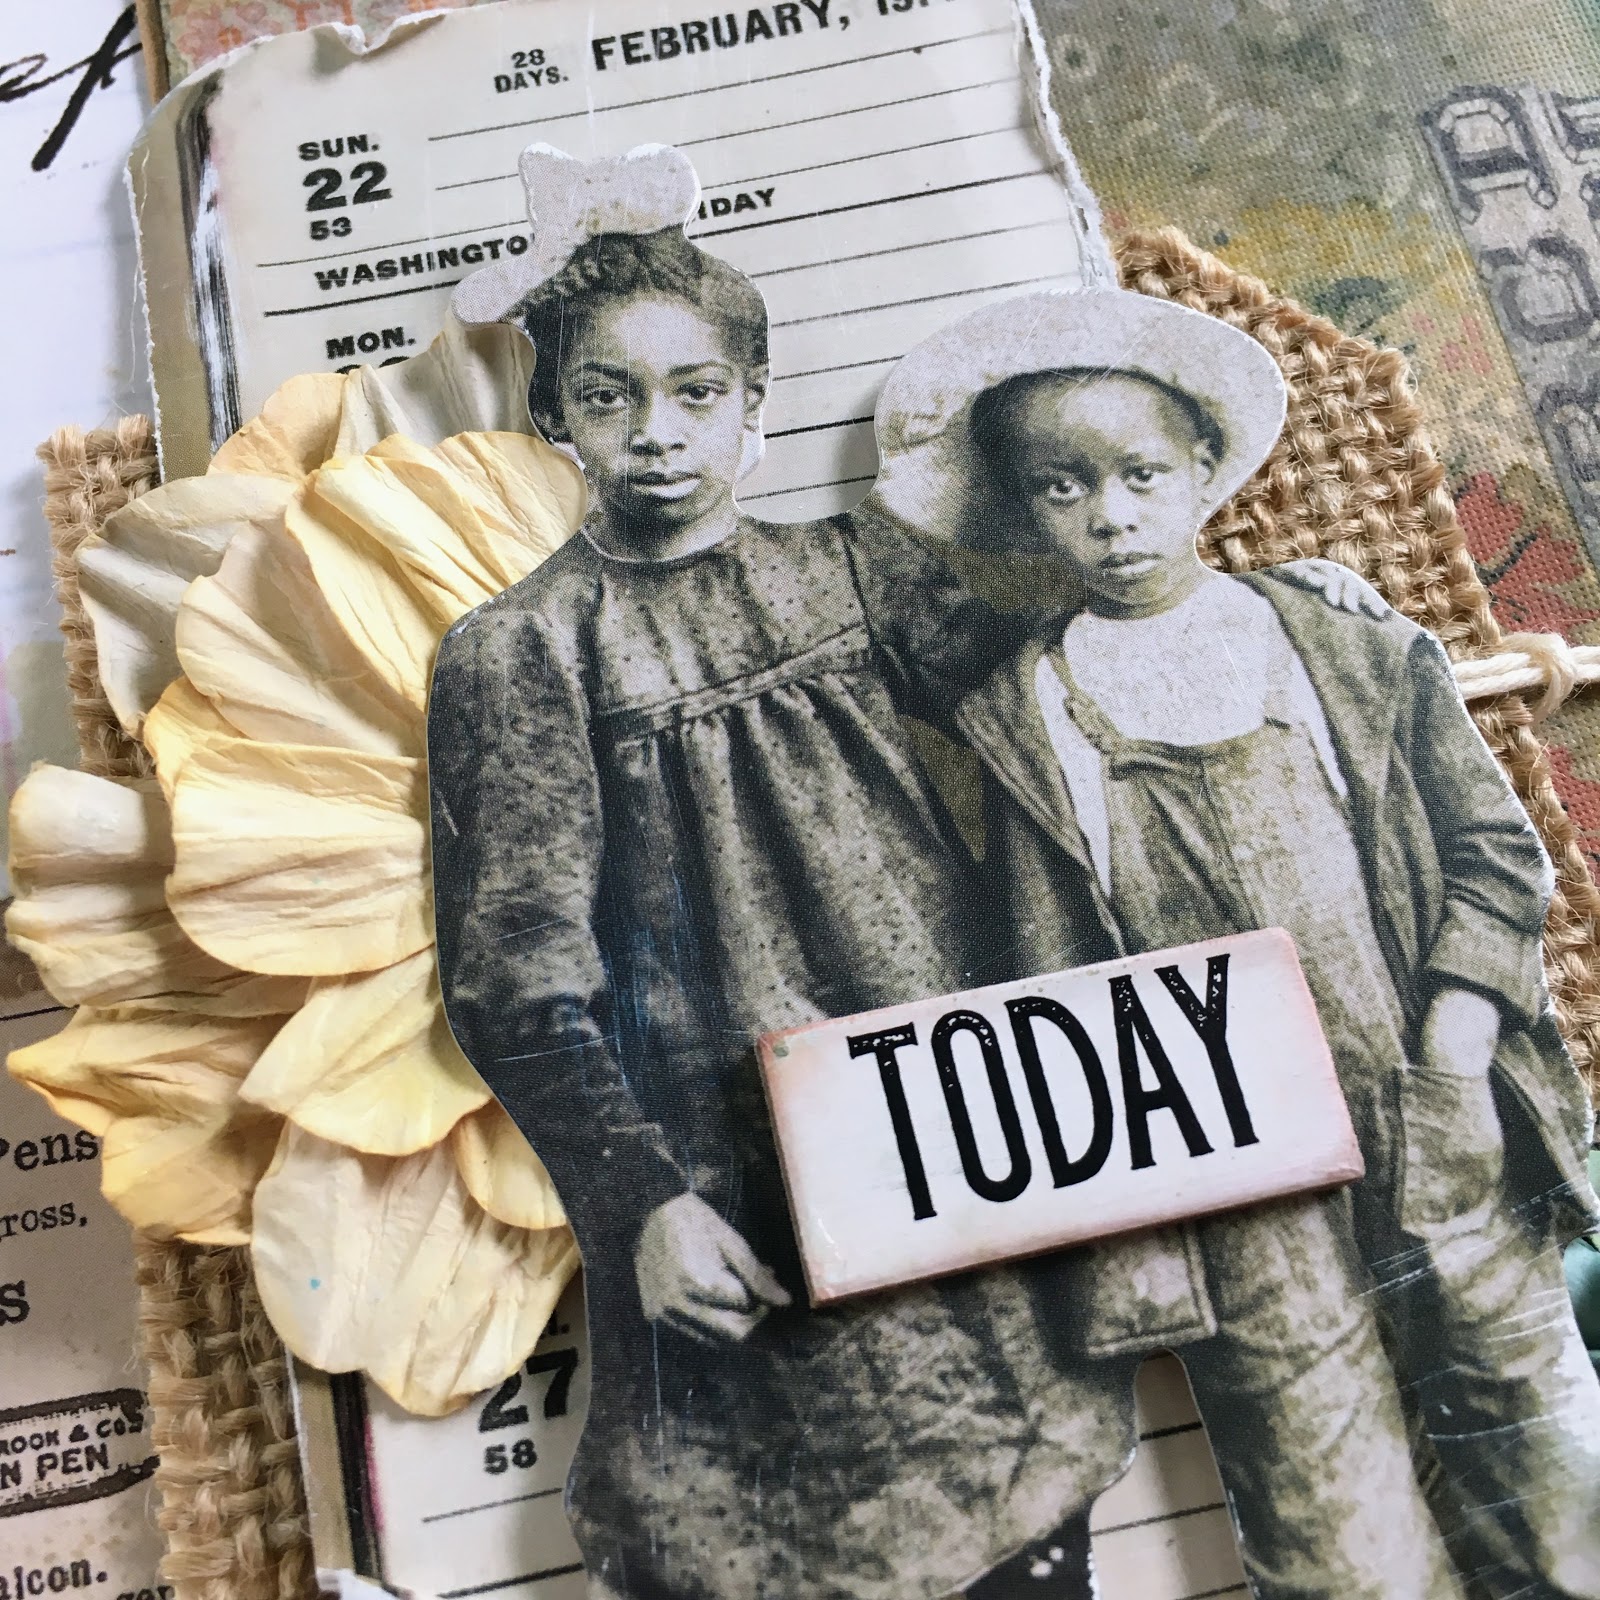
I pulled a favorite pair of Paper Dolls and some other TH ephemera together.


The flowers are handmade.  I cut the yellow one in half.


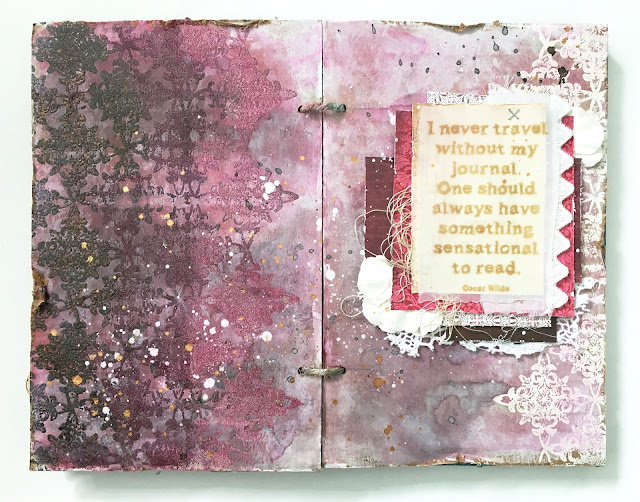
I used a Distress Crayon around the edge of the tag to brighten it up.  I love the texture of this Worn Wallpaper!  The sentiment seemed to be perfect for spring and a simple girl trying to stay happy in a world filled with much sorrow.  Let these words of our Lord spoken to Peter during the last supper comfort us:

"but I have prayed for you, that your faith may not fail"
Luke 22:32 NASB


We'd love to see your tags, so come on over to the A Vintage Journey blog and link up!  I've had the pleasure of peeking at each artist's tag over the past few weeks and WOW!  What incredible inspiration awaits you!

Gather up your tag making supplies at The Funkie Junkie Boutique!


I'm also sharing with:

Mar 28, 2018

Prima Lavender Peeled Planked Wallpaper Tutorial


Hi friends!  It's time for a new challenge at Frilly and Funkie and our hostess Zoe has chosen the theme Bloomin' Marvellous.  She says, "As spring pokes it's head through the frozen ground, let's celebrate the season and create a vintage or shabby chic project with flowers as the focus and in vintage muted pastel tones, (no brights)."


I was soooooo inspired by THIS card I pinned from my Instagram feed.  I started out to make a similar card.  I used my We R Memory Keepers Envelope Punch Board to create a 3 x 4" envelope from the Prima Lavender collection.  I learned that you should orient your paper facing up on your first punch/score so that the inside pattern will not be sideways.  This is my first envelope and I'm soooo excited about the possibilities with this simple, but power packed tool.  :)


Next I tucked and tucked various Prima flowers and basket filler into my envelope until I had an exploding beautiful bouquet!  It was hard for me and my frugal nature to commit all of these beautiful blossoms to a simple card, so I switched gears and made a mixed media planked wood panel to use as my base.  I plan to hang this springy project in my cubicle at work now and enjoy it twice as much.


Using the back from one of my beloved watercolor paper pads, I cut the thick chipboard into a 7 x 9" panel, then cut the remainder into 1 1/2" strips and pieced together like so.  I glued them to the base then gave a wash of watery gesso.  Next I tore a strip of the Lavender floral paper and glued it to the planks in various places.  I tore some floral tissue tape and adhered as well.  Then I used Tim's stripe stencil with texture paste to make some wood grain texture.  Finally, I scraped on DecoArt crackle paste over the entire panel.  I applied the paste heavier in some areas and lighter over the torn paper.


When this was completely dry I mixed Dusty Concord Distress Ink with water and gave the entire panel a good wash.


I just love how those beautiful bits of floral paper peek through!  I got the idea for this from something on THIS post by Beulah Bee.  It worked out better than I envisioned and was super easy to produce!


I raised the envelope up quite a bit to get maximum dimension.  The basket filler adds so much texture.  And I was happy to use these leafy wired blossoms that I have never really known what to do with.


As a final touch I attached a die cut bow to my envelope and some Venice lace to the bottom of my panel.  I hope you've enjoyed reading about this process and will give it a try.  We'd love to have you play along with our current challenge at Frilly and Funkie.  If you don't have any paper flowers in your stash, I have a few posts on making your own HERE.  You can even used stamped flowers, just play along for a chance to win a $25 gift certificate to The Funkie Junkie Boutique.


You can find these and other beautiful floral papercrafting items there:


I'm also sharing with:

Mar 25, 2018

PaperArtsy Seth Apter Altered Composition Notebook


Happy Sunday!  I have the honor of sharing a post on the PaperArtsy blog today.  I've created an altered composition notebook with the exquisite PaperArtsy Eclectica³ {Seth Apter} Collection (ESA08).


(Check with your local stockist for purchase information.)


I absolutely adore the current topic, Nautical Colors, and was inspired to play with my range of PaperArtsy Fresco Finish Chalk Acrylics to create my own papers for this collage.  Seth's stamps have so many bits within each image and I love dissecting the stamps and making new elements.  I hope you'll hop on over for a closer look.


I'm also sharing with:

Mar 23, 2018

Darkroom Door Seampunk Cogs Cardboard Junk Journal Spread


Friends, I'm back again with a post on the Darkroom Door blog.  Today I'm sharing another page in my cardboard junk journal.  This one features the AHHH-MAY-ZING new Cogs Border Stamp.  Oh  my gosh!  I'm so in love.  I've layered with several amazing Darkroom Door images for this grungy journal spread.


I'm so excited to be putting my Baked Texture embossing powders to use.  Find out the details on the Darkroom Door blog today.  And just look at how my journal is filling up.  Only two spreads left!


See the cover post HERE.


See this spread HERE.


And my first pages HERE.

Popular Posts